
The cracked screen is arguably one of the most annoying disasters that can happen to a smartphone — not only because it affects how you use your device, but also because the price of professional repair can be so high. Fortunately, there are a number of options for fixing a cracked screen without breaking the bank. In this article, we’ll walk you through practical tips, DIY approaches, and budget-friendly strategies to fix a cracked screen, all while highlighting when it might be best to call in the experts at iProtech.
Understanding the Problem

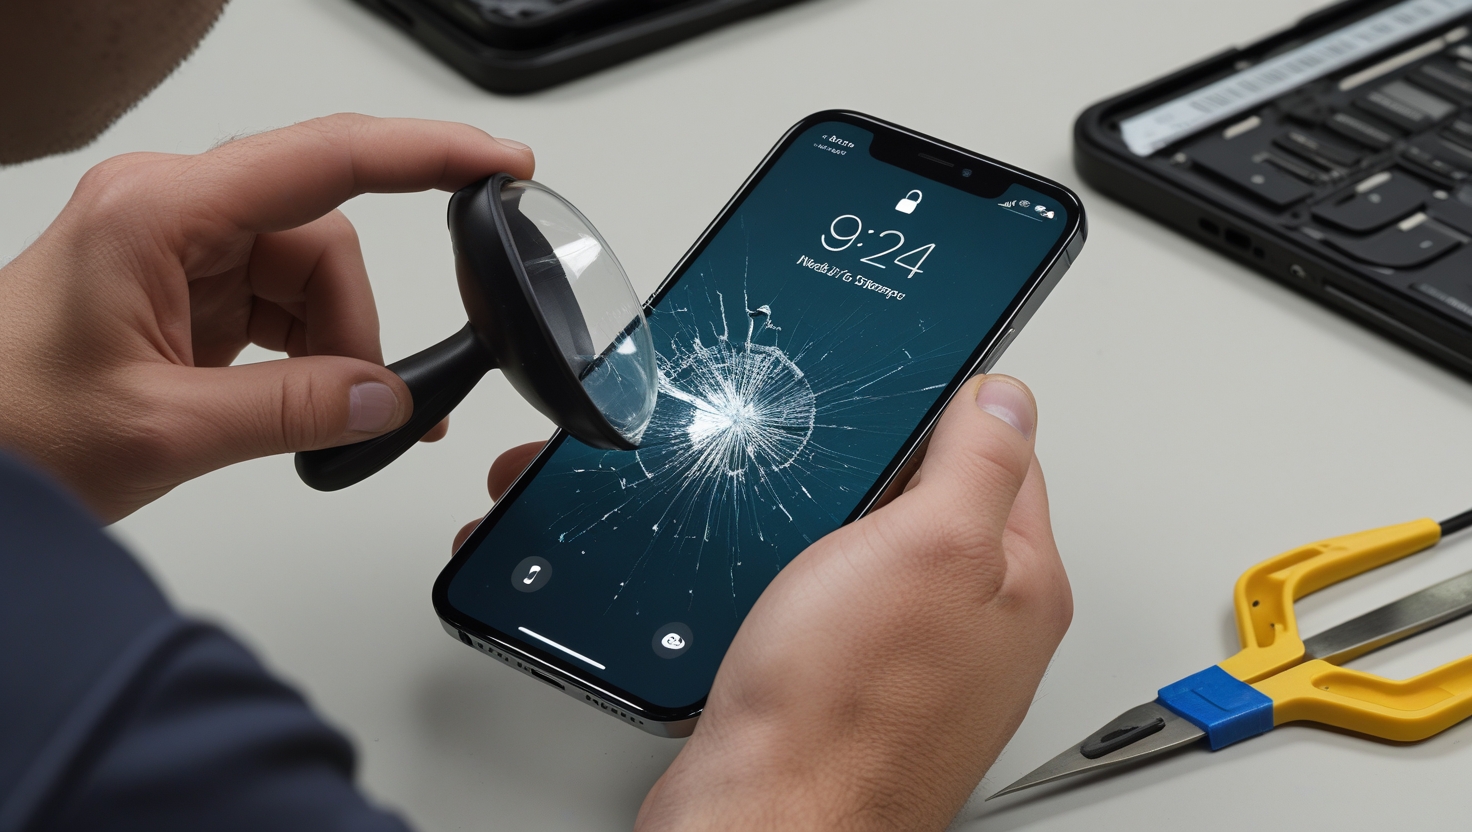
Before we get into the solutions, it’s worth knowing what a cracked screen actually means. When your screen is cracked, it might look like a web of crevices, but frequently the damage goes beyond the glass. Sometimes even the display panel gets affected, but the other layer that is the touch input is the one that is affected the most in a lot of cases. If the crack reaches into the sensitive areas of the screen, a simple glass repair may not suffice.
There are many causes of cracked screens: dropping the phone by accident, pressure on the phone, or even manufacturing defects. No matter the cause, the first reaction is typically frustration, preferably with a side of panic at the prospect of what the repair bill might be. But there are budget-friendly solutions to the problem.
DIY vs. Professional Repair

The first decision you need to make is whether to try a do-it-yourself (DIY) repair or to seek professional assistance. Each option has its benefits and drawbacks.
DIY Repair
DIY screen repair kits are widely available online and in some local electronics stores. These kits typically include replacement glass, adhesive, and tools such as screwdrivers and suction cups. If you’re comfortable with electronics and have a steady hand, a DIY repair can be a cost-effective solution.. However, DIY repairs come with risks. If not done correctly, you could end up causing further damage to your device. Screens are delicate, and even minor mistakes in handling can result in improper reassembly, which might affect the touch sensitivity or display quality.
Professional Repair
Professional repair services, like those offered by iProtech, guarantee that your device will be handled by experienced technicians who have the right tools and expertise. While this option may cost more than a DIY approach, it often ensures a higher success rate and minimizes the risk of additional damage. Professional services are particularly advisable if:
-
- Your phone has multiple layers of damage (e.g., the digitizer or display panel is also affected).
- You are not comfortable with or experienced in performing intricate repairs.
- You want a warranty or guarantee on the repair work done.
In many cases, professionals also offer a “no data, no charge” policy, meaning you only pay if the repair is successful. At iProtech, we also offer no data, no charge” policy. This can add extra peace of mind when dealing with expensive devices.
Budget-Friendly DIY Repair: Step-by-Step
If you want to attempt a DIY repair, here are some step-by-step instructions to help you perform one. First things first, be cautious and that you have a bright and clean workspace before doing so.
Step 1: Get your tools and parts together

You will need:
-
- A high-quality DIY screen replacement kit specifically for your iPhone model.
- Small screwdrivers, a plastic pry tool, and tweezers
- An suction cup to carefully pull up the screen.
- Glue strips for attaching the new screen.
- Some isopropyl alcohol and a clean microfiber cloth for cleaning.
Step 2: Power Off and Prepare Your Device
Turn off your iPhone completely to avoid any electrical issues. Remove any case or accessories and lay the device on a soft surface to prevent additional damage.
Step 3: Remove the Damaged Screen
Gently pull your broken screen away from the phone using a suction cup. If the screen is secured with adhesive, use a plastic pry tool to carefully separate the screen from the frame. Take your time with this step to avoid damaging internal components.
Step 4: Disconnect the Connectors
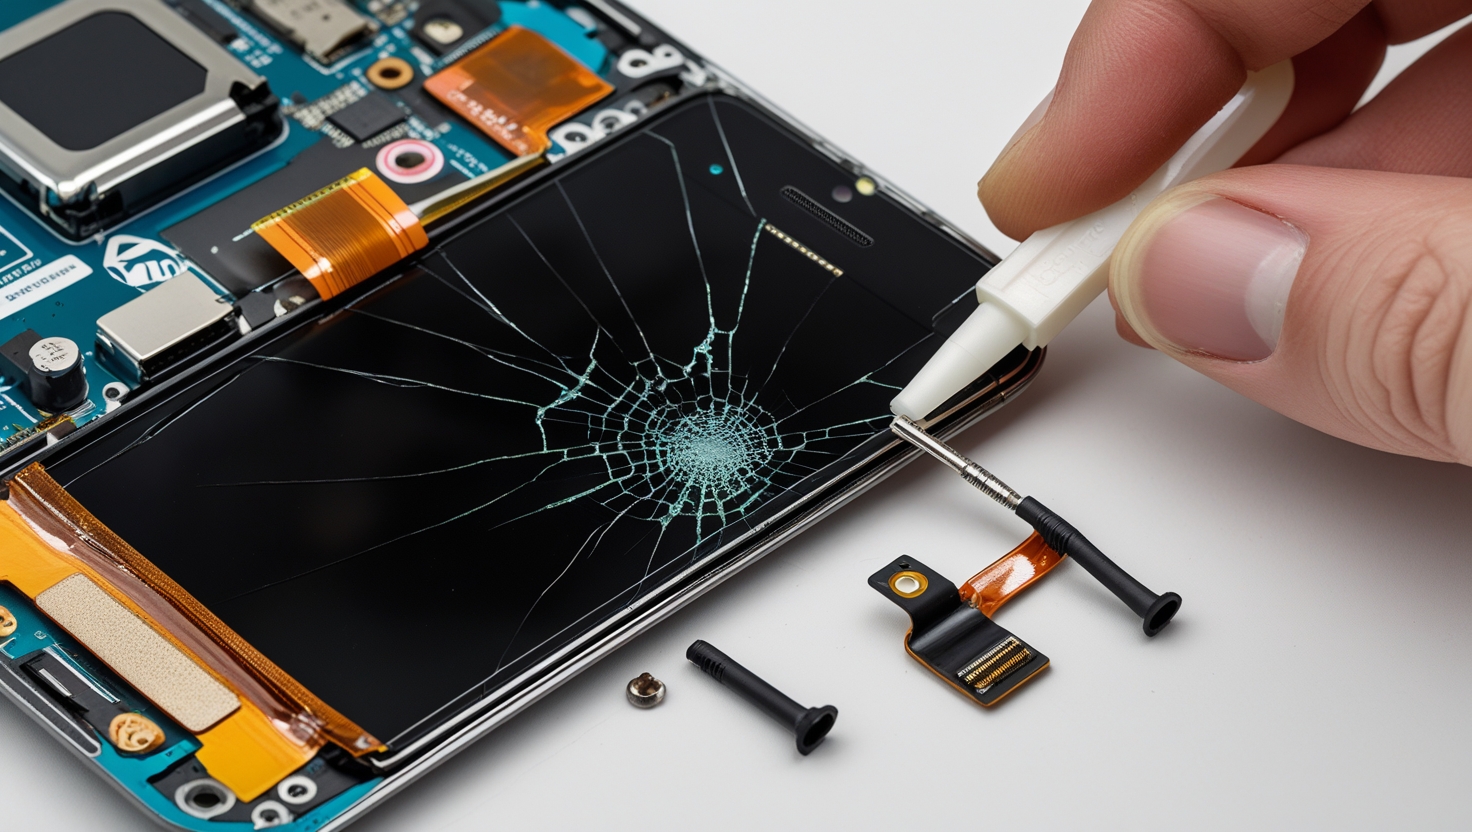
Once the screen is loosened, you’ll see connectors linking the screen to the motherboard. Carefully disconnect these using the provided tools or a plastic tool. Try to keep track of tiny screws and parts as you remove them because losing them can make the repair a hassle.
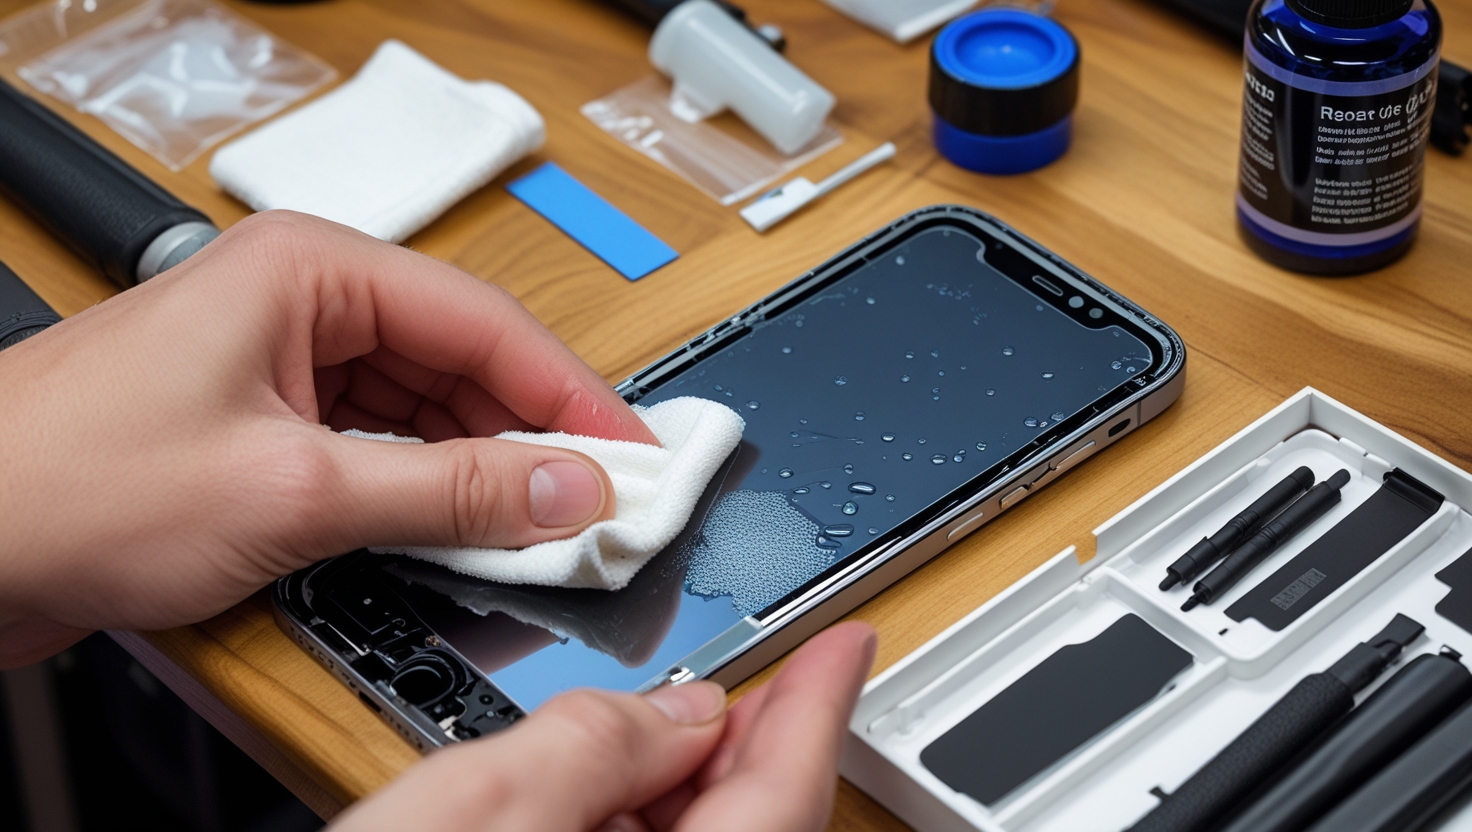
Step 5: Clean the Frame
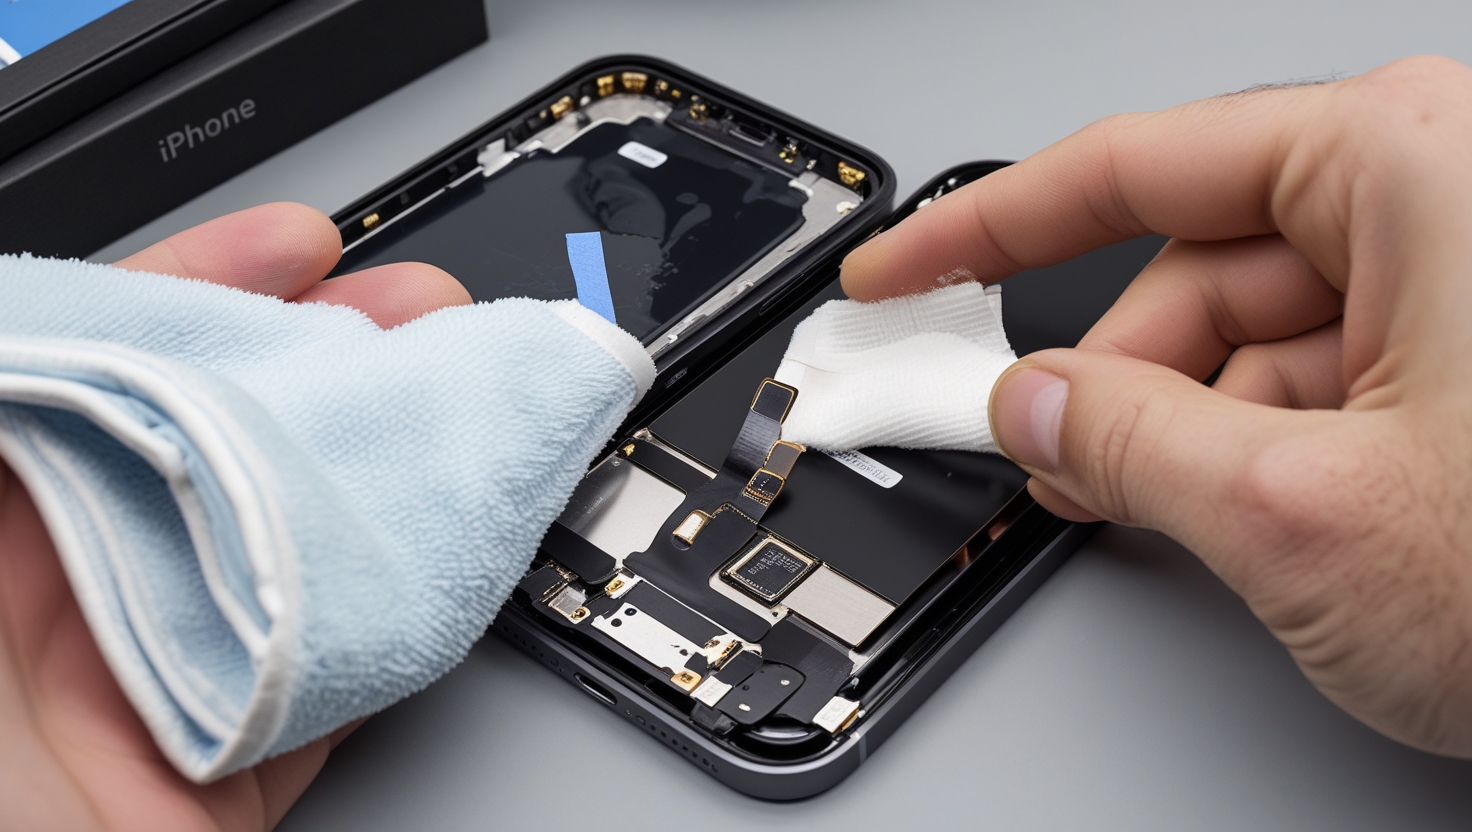
Clean the frame with a microfiber cloth and isopropyl alcohol before installing the new screen. This cleans up any old glue residue and makes sure that the new screen bonds properly.
Step 6: Install the New Screen
Place the new screen carefully, reconnecting all cables and connectors as they were originally arranged. Use the adhesive strips provided in your kit to secure the new screen in place. Press firmly along the edges to ensure there are no gaps or bubbles.
Step 7: Test Your Device
Once the new screen is in place, power on your iPhone to test its functionality. Check for touch responsiveness, display quality, and overall performance. If everything works correctly, allow the adhesive to set before using your phone regularly.
When to Opt for Professional Help
Despite the appeal of DIY repairs, sometimes the best decision is to rely on professional services—especially if your device has suffered additional damage. Professional technicians at iProtech have years of experience repairing iPhones and can ensure that every component is handled with precision. If you’re not comfortable with DIY repairs or if your phone is more than just a cracked screen, seeking professional help may save you time and prevent further complications.
Additional Tips to Protect Your Screen
While fixing a cracked screen is one thing, preventing future damage is equally important. Here are some simple tips to help you safeguard your smartphone:
-
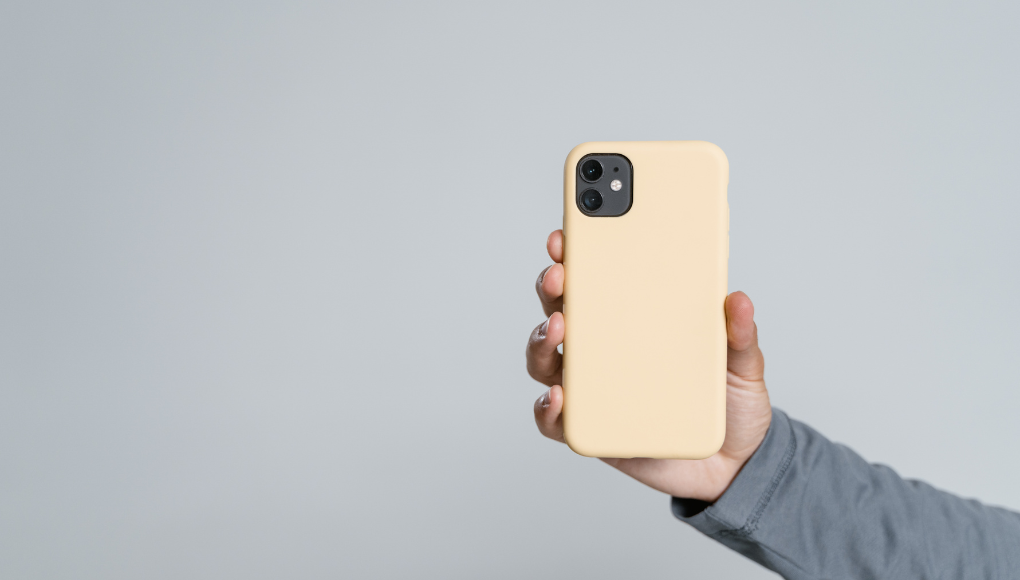
- Use a Protective Case: Invest in a robust case that provides shock absorption and guards against drops.
- Apply a Tempered Glass Protector: This can help absorb impact and prevent minor scratches and cracks.
- Be Mindful of Your Environment: Avoid using your phone in risky environments, such as near water or in crowded, hectic spaces where drops are more likely.
- Regular Maintenance: Clean your phone regularly to remove dust and grime that could potentially harm the screen or its adhesive.
Conclusion: Making the Right Choice
Fixing a cracked screen without breaking the bank is possible, whether you opt for a DIY repair or professional service. DIY repairs can be an economical choice for those who are technically savvy and willing to take a risk. However, if your device has additional damage or you simply prefer peace of mind, professional services like those provided by iProtech offer a reliable, efficient solution.
Your smartphone is an indispensable part of your routine, containing cherished memories and important information. Maintaining it — with preventive actions and wise repair choices — means it will keep doing its job. Fixing it is either a do-it-yourself or so-called smurf job, but the important part is to do it wisely and in a timely manner.
If you need professional repair, iProtech is here to restore your device with precision and care. We know every phone you bought is an investment, and we are here to bring you quality service without the price tag.
Remember, a cracked screen doesn’t have to be the end of your device’s story. With the right approach, you can fix it without breaking the bank and get back to enjoying your smartphone—safe, sound, and ready for whatever the day brings.